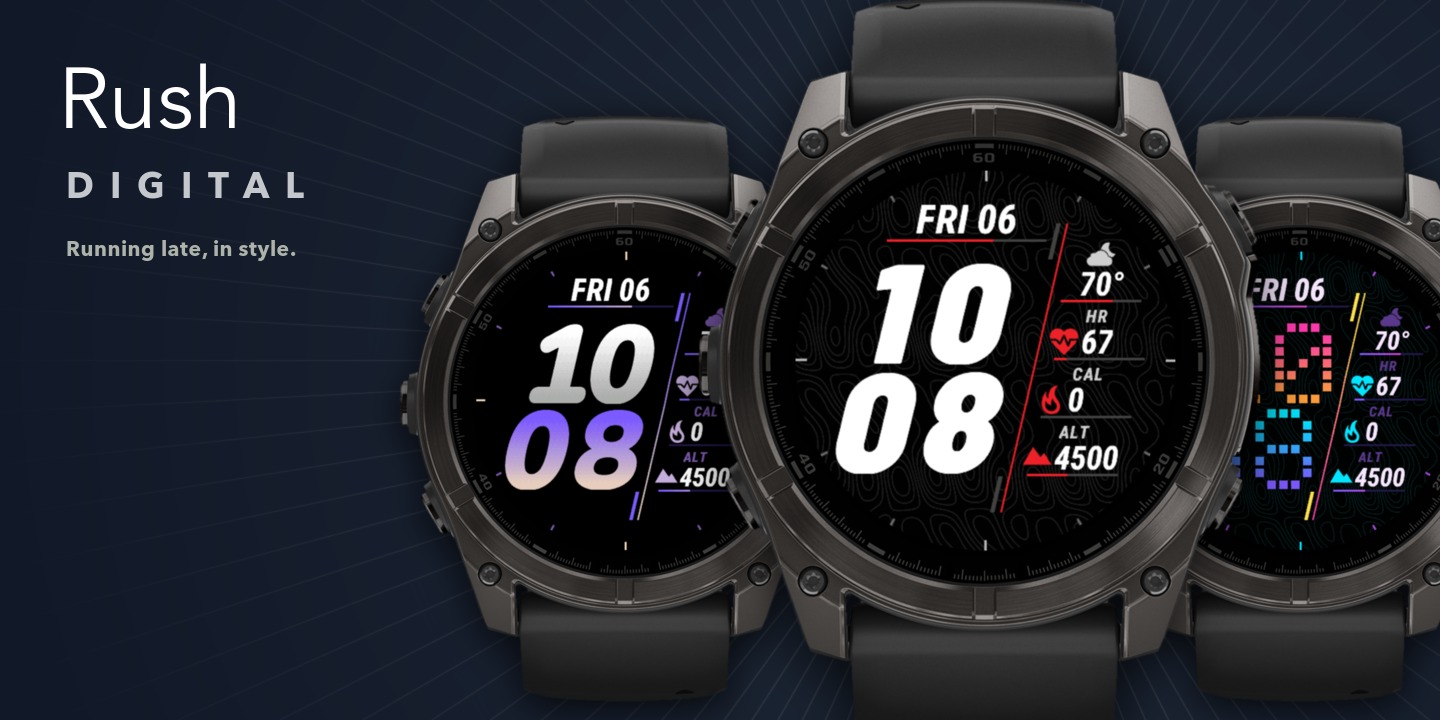
Rush
Download Options
 Free Version
Purchase Watchface - $3.99


Rush - GB - Manual
Table of Contents
Opening the settings
Most settings are on the watch. The basics are also in the Connect IQ app on your phone, see Settings on your phone.
On your watch, go to Menu → Watch Face → Rush and choose Customize, edit, configure or the edit icon. The exact path and wording are slightly different on every model.
Your settings are stored on the watch. They usually stay when you reinstall the watchface, but this isn't guaranteed.
Settings on your phone
In the Connect IQ app, choose My Device → Watch Faces → Rush → Settings. You find the basics there, and everything else stays on the watch. How it all works is explained in Settings on Your Phone.
- Theme and Load Profile, and in the free version the Pro Code.
- The options of this watchface: Time Size, Time Gradient, AOD Mode (AMOLED only), Divider, Lines and Status Icons. A theme also sets the Time Size and the gradient, so when you choose both in one save, the theme wins.
- DATA FIELDS: every field from the table below, each with its label. Date Progress and the ring only list data that can show progress.
- FONTS: the Hour, Minute, Text, Caption and Date Font, and on AMOLED the Hour and Minute AOD Font.
- COLORS: every color, like the time, the lines, the ring and the background.
- PLUGIN FIELDS and Custom Text at the bottom.
Changing a data field
- Open Data.
- Choose Pick on screen and select a field on the watchface, or choose a field from the list.
- Choose the Data row, then a category, then the field you want.
- Use Data Options for its format, units and refresh time.
The fields on this watchface
| Field | Where it is |
|---|---|
| Date | Above the time |
| Date Progress | The line under the date, progress only. Only with Lines on |
| Side 1 | The top field on the right, with its icon above the value |
| Side 2, Side 3, Side 4 | The other fields on the right, from top to bottom, each with a caption |
| Ring Progress | The ring around the edge, progress only. Off by default |
| AOD Field | AMOLED only: below the time on the always-on display, in the modes with a data field |
The line under each side field shows the progress of that field, so a field with a goal (steps, calories, battery) fills its line. Pick on screen has every field except the AOD Field. Find that one in the list, or in Advanced options → Always-On Display.
You can also go to the same fields through Advanced options: Date, Side Fields and Ring & Dial. To set up a custom date, see Custom Date & Time Formats.
Time
Open Time options in the settings. You see a preview at the top, with the selected option below it. Press select to go to the next value of that option.
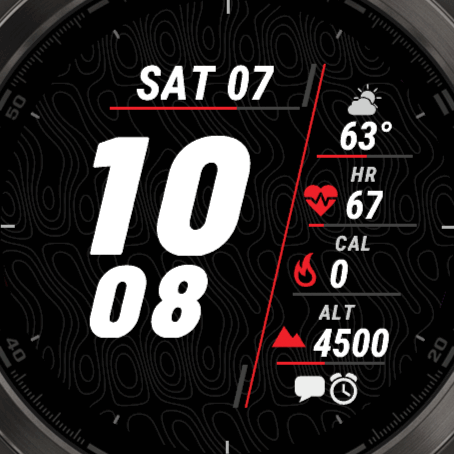
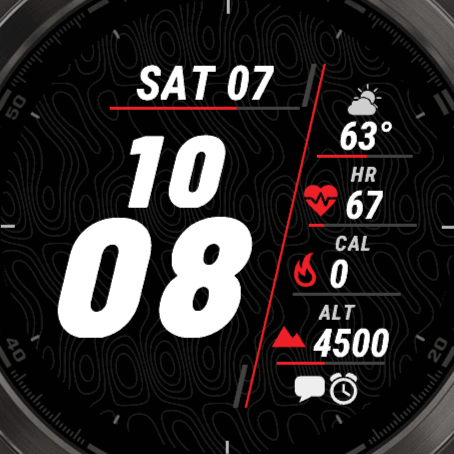
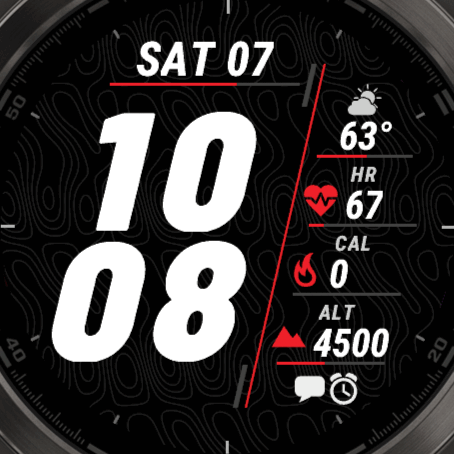
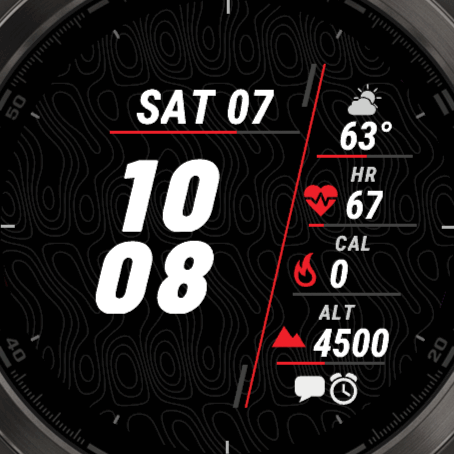
- Time Size: Big hour, Big minute, Equal or Small. The date moves down with a smaller time, so it stays just above it.
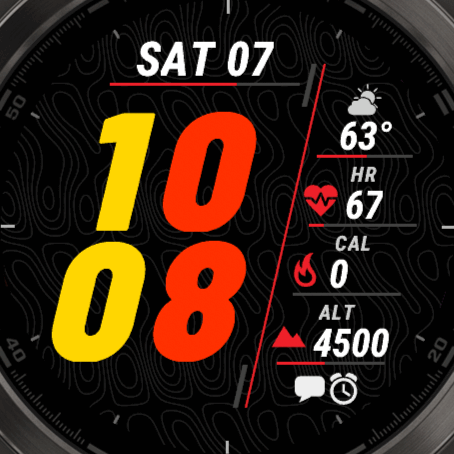
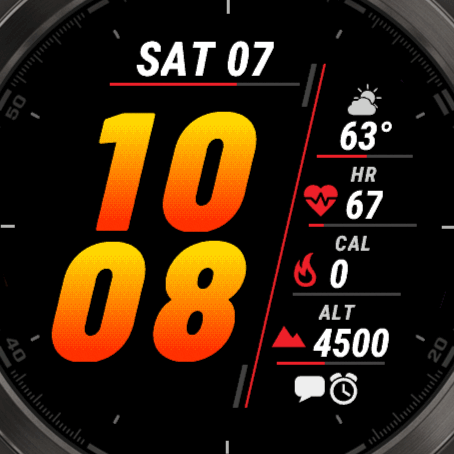
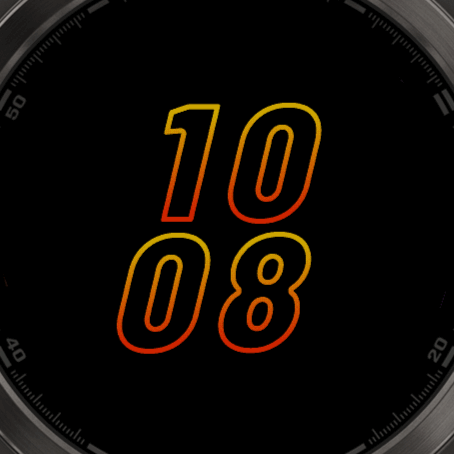
- Hour Color 1, Hour Color 2, Minute Color 1, Minute Color 2: without a gradient, the last digit gets Color 2 and the other digit Color 1. With a gradient, every digit goes from Color 1 to Color 2.
- Gradient Style: No Gradient, Regular or Ellipse.
- Hour Font, Minute Font: see Time fonts. The Minute Font can be Same as Hour.
- Hour AOD Font, Minute AOD Font, AOD Time Color: AMOLED only, see Always-On Display.
- 24 Hour, Leading Zero
Time Size
Gradient Style
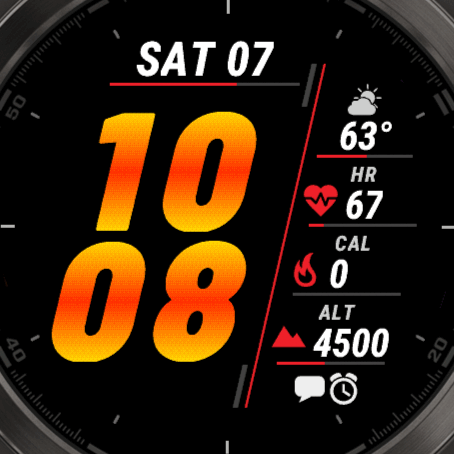
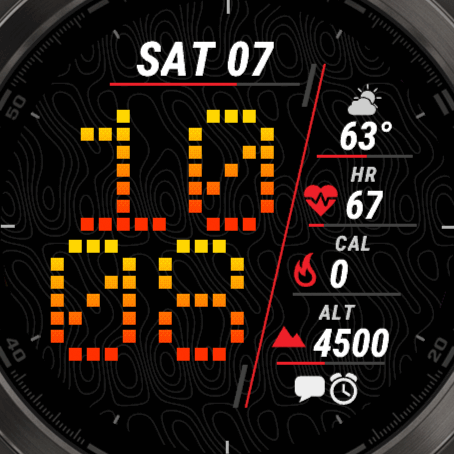
The same colors with and without a gradient. On AMOLED, a gradient on a smooth font turns the background pattern off, see Time fonts. The pixel fonts keep the pattern, also with a gradient.
Time fonts
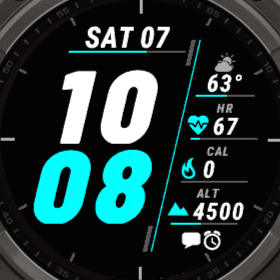
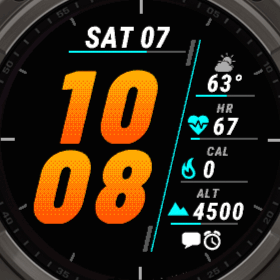
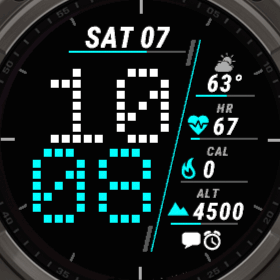
Change the time fonts in Time options, or all fonts in Advanced options → Fonts. The hour and minute can each have their own font. There are two kinds of time fonts:
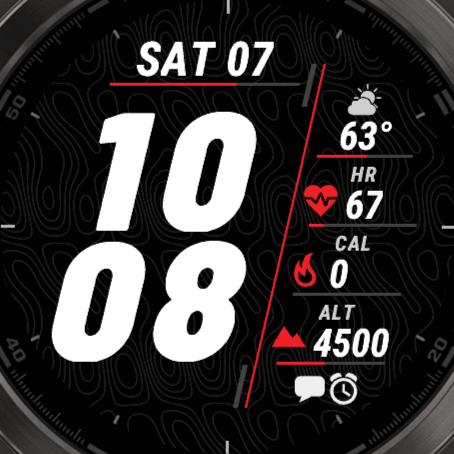
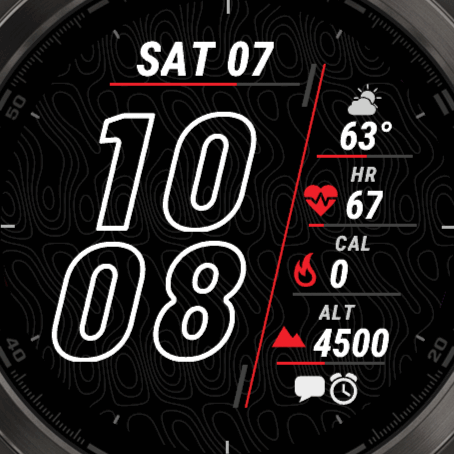
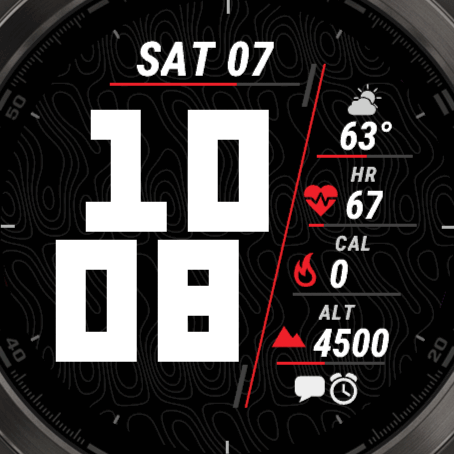
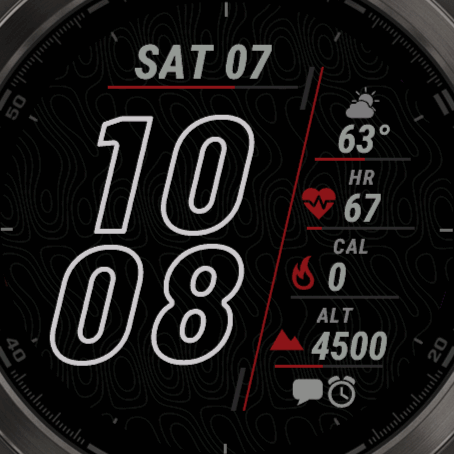
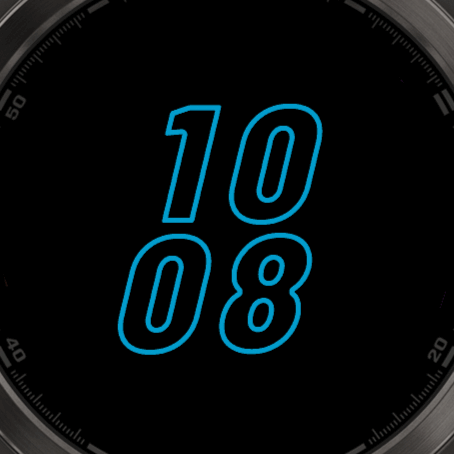
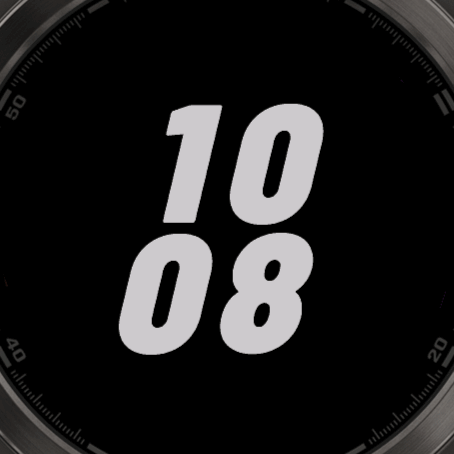
- Smooth fonts: Rush, Nunito and Oxanium, each also as an Outlined version. They have smooth edges, and lean along the divider.
- Pixel fonts: Block (also Outlined), Dots, Squares and Sport. Sharp pixels, no smoothing.
Fonts and the background pattern
On AMOLED, the background pattern goes on under the time. A gradient on a smooth font is drawn with a box around each digit, which would cover the pattern. So with a gradient and a smooth font, the pattern is turned off. The pixel fonts are drawn as images that are see-through around the digits, so they keep the pattern, with or without a gradient.
The other fonts are Text Font (the side fields), Caption Font, Date Font and the AOD fonts. In a date language that the Rush text fonts can't show, the watch's own fonts are used instead.
Rush
Rush Outlined
Nunito
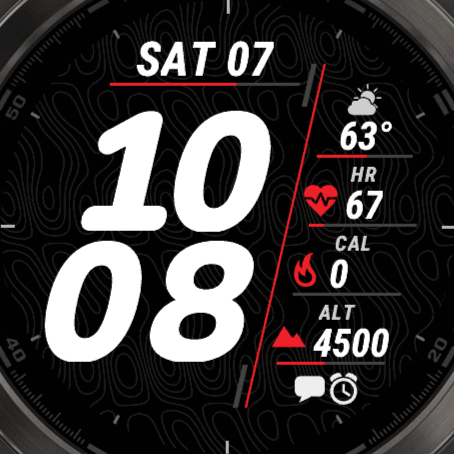
Nunito Outlined
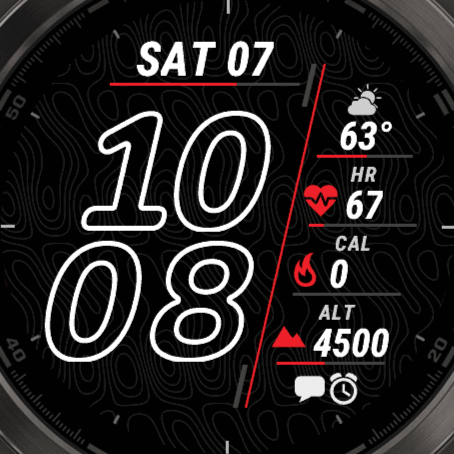
Oxanium
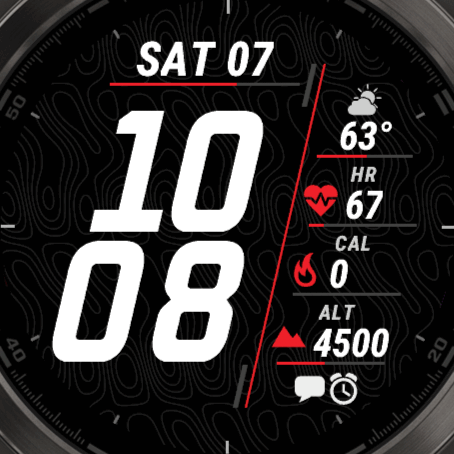
Oxanium Outlined
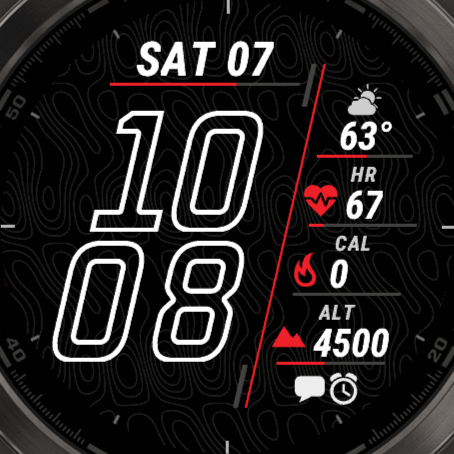
Block
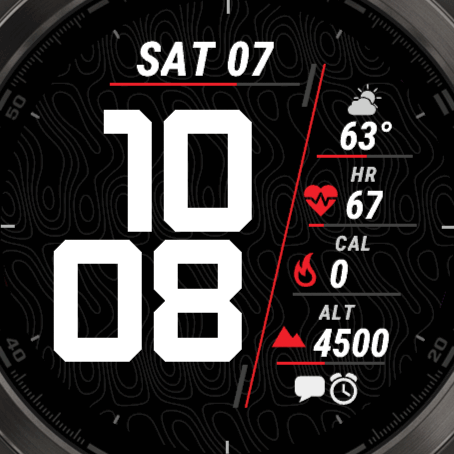
Block Outlined
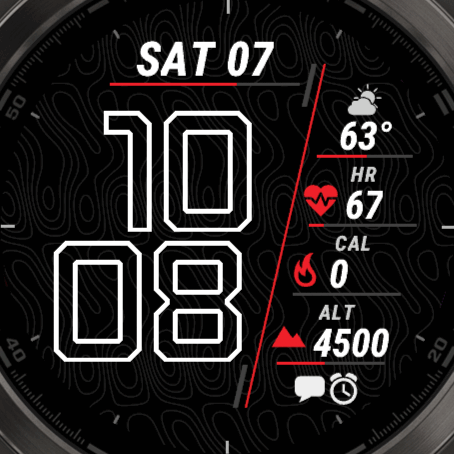
Dots
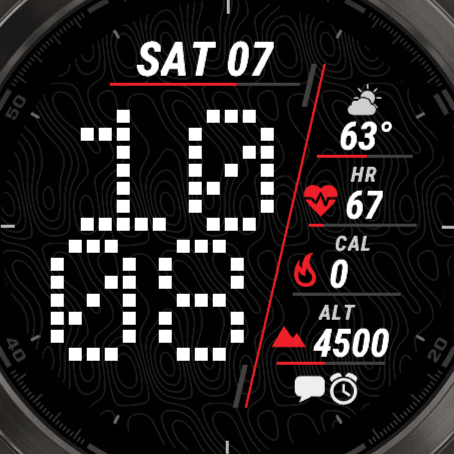
Squares
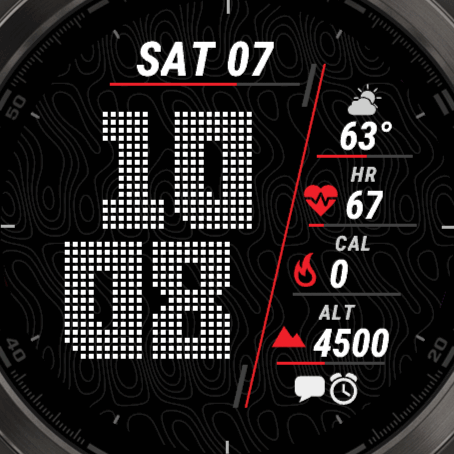
Sport
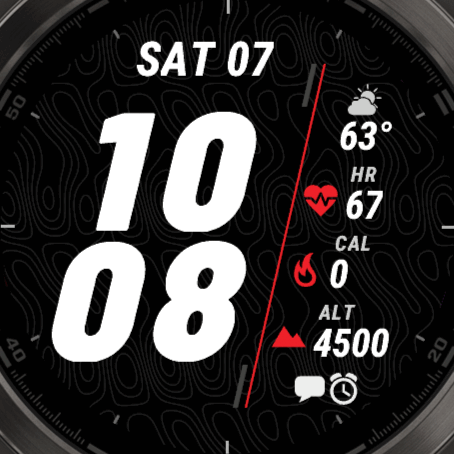
Divider
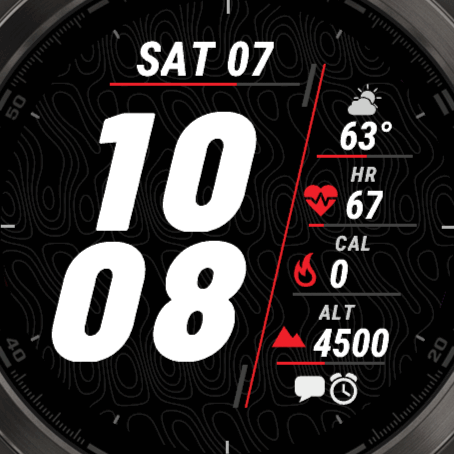
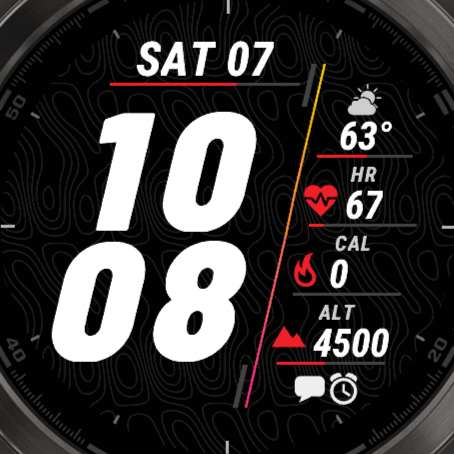
The divider is the leaning line between the time and the side fields. Find it in Advanced options → Side Fields.
- Divider: on or off.
- Divider Color 1, Divider Color 2: the divider goes from Color 1 at the top to Color 2 at the bottom. Give both the same color for a plain line.
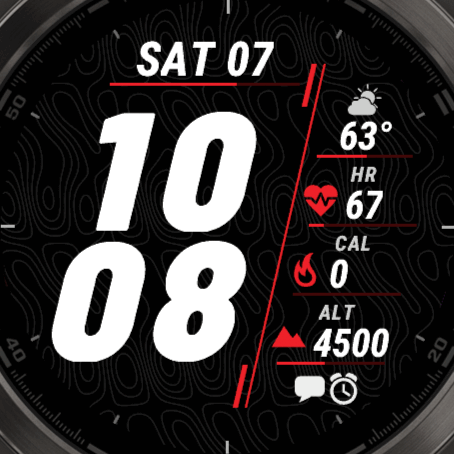
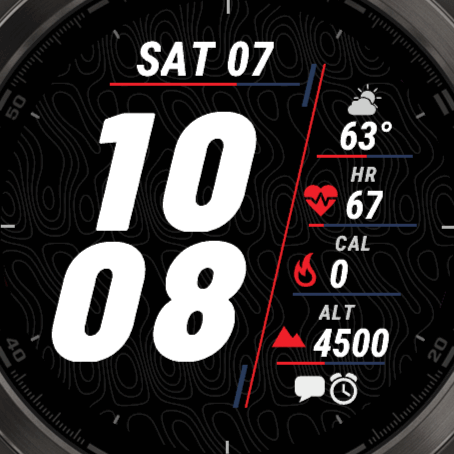
The short, thick bars at both ends of the divider use the Unfilled Color of the lines (see Lines and progress). With Unfilled Color set to 70% darker or 40% lighter, they use Divider Color 1.
Side fields
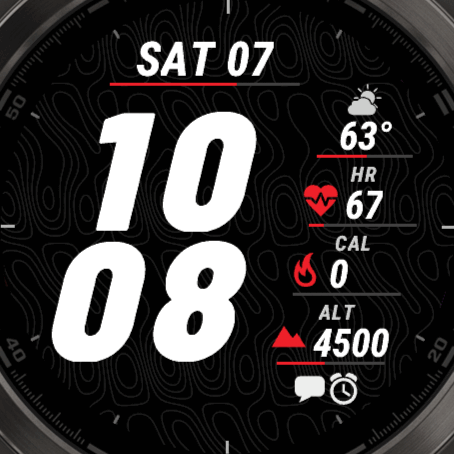
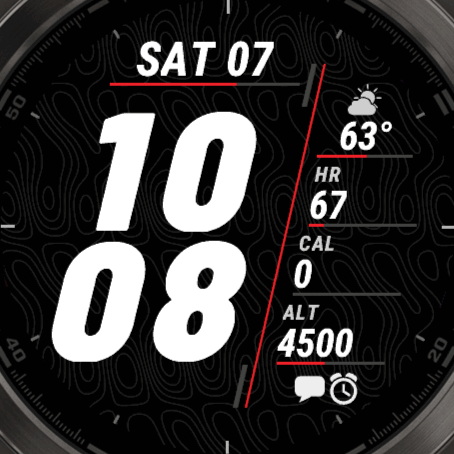
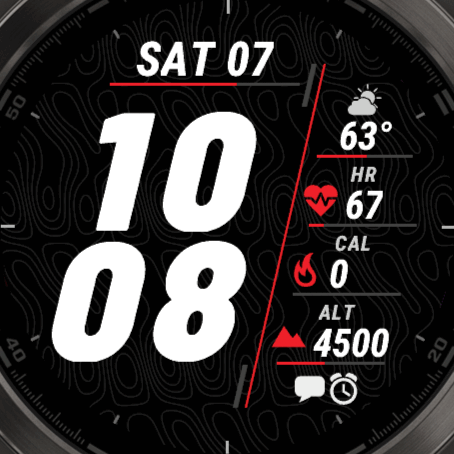
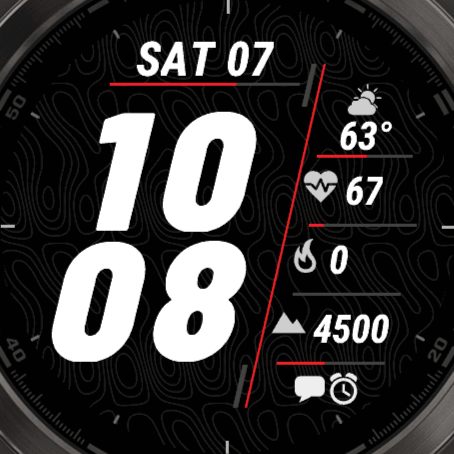
The 4 fields on the right are in Advanced options → Side Fields, or through Data. Side 1 shows its icon above the value, the weather icon by default. Side 2, 3 and 4 have a caption above the value.
- Text Label: the default. A short text such as HR or CAL, in the Caption Font. Change it with Text in the menu of the field.
- Icon: with a Text Label, the Icon row in the menu of the field adds the icon of the field to the left of the value, in the Icons color.
- An icon as label: choose a label such as Icon instead of Text Label to show only the icon.
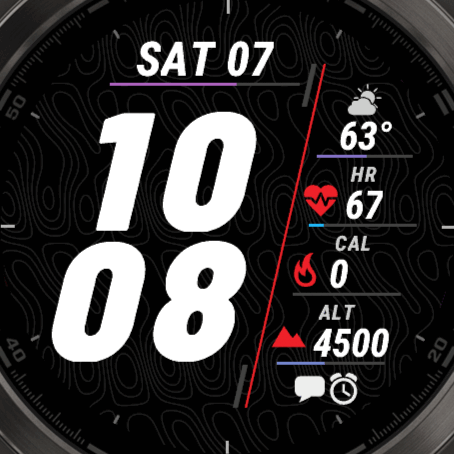
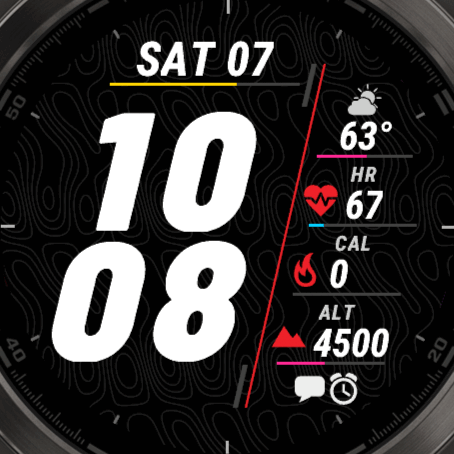
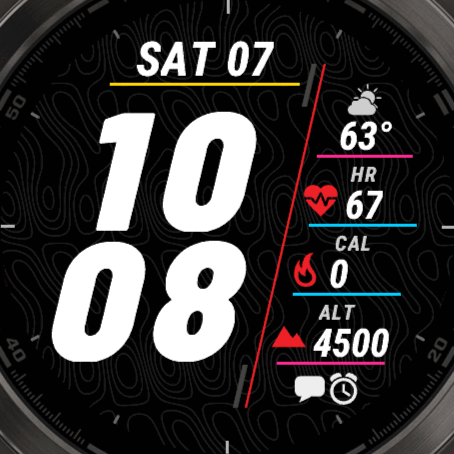
Lines and progress
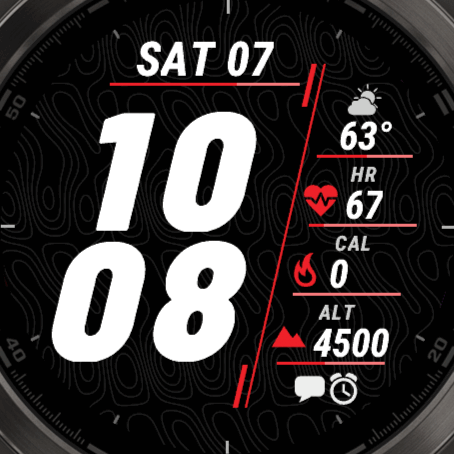
There is a line under the date and under each side field. Find them in Advanced options → Side Fields. Some rows only appear when the option they belong to is on.
- Lines: on or off. Off also hides Date Progress.
- Line Style: see below.
- Line Color 1, Line Color 2, Line Color 3: Line Color 3 only appears with the single color styles.
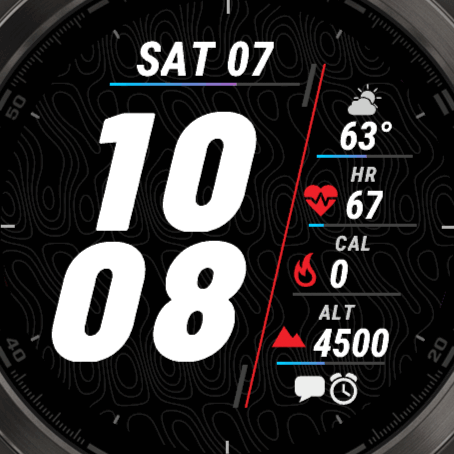
- Unfilled Color: the part of the line that isn't filled yet. 70% darker or 40% lighter than the line color, or Pick color.
The line under the date shows the Date Progress field, steps by default. Find it in Advanced options → Date, with the date itself. The line under a side field shows the progress of that field. A field without progress, such as the time in another city, leaves its line unfilled. See Goals & Progress Bars to set your own goal.
| Line Style | What it does |
|---|---|
| Gradient | From Line Color 1 to Line Color 2 over the full width, filled up to the progress. |
| Color merge | One color, from Line Color 1 at 0% to Line Color 2 at 100%. |
| Single color | Line Color 1 below 33%, Line Color 2 below 67%, then Line Color 3. |
| Single color filled | The same colors, but the line is always full: only the color shows the progress. |
Line Style
Unfilled Color
Ring & Dial
These are in Advanced options → Ring & Dial. Some rows only appear when the option they belong to is on.
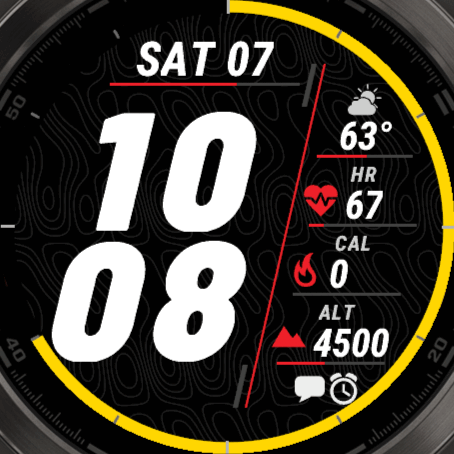
- Background: AMOLED only. The pattern behind the face, on or off. Background Color tints it: keep it dark, so your data stays easy to read.
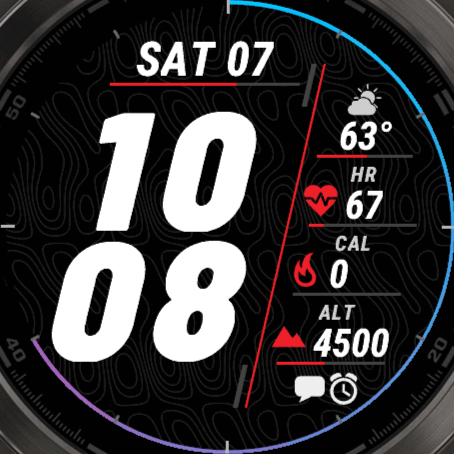
- Ring Progress Field: the field the ring shows. It's set to Nothing by default, which hides the ring and its other options.
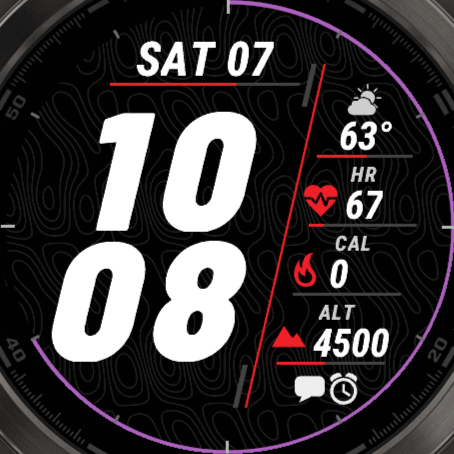
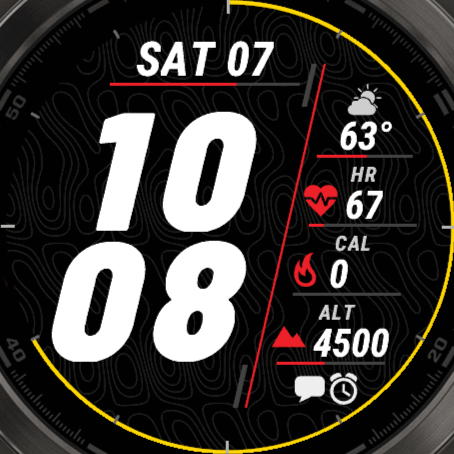
- Progress Style: Gradient, Color merge, Single color or Single color filled, as for the lines, with Progress Color 1, 2 and 3. The gradient goes around the full circle.
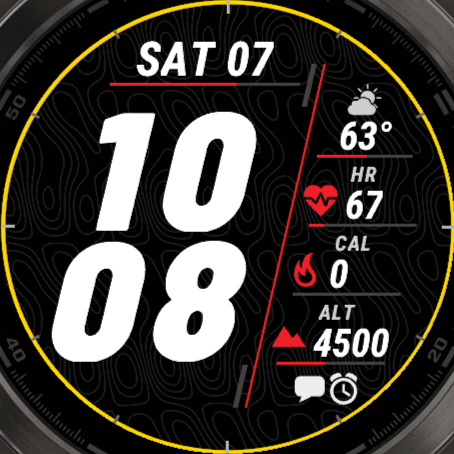
- Progress Width: 1 to 12 px.
- Hour Markers Color, Length, Width: the markers at 12, 3, 6 and 9. Length Off hides them.
- 5 Min Color, Length, Width: the other markers.
The markers are drawn on top of the ring, from the edge of the screen inwards.
Progress Style
Width and markers
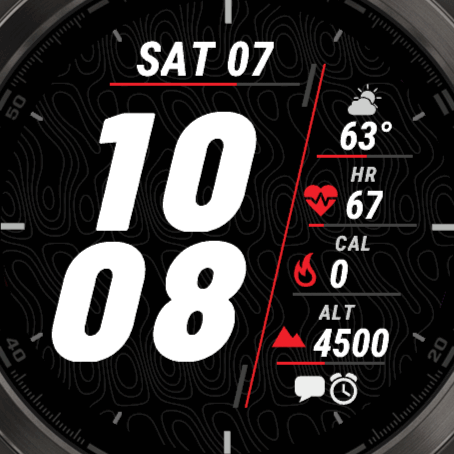
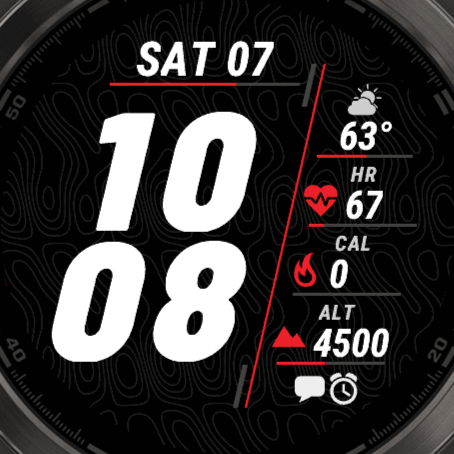
Background pattern
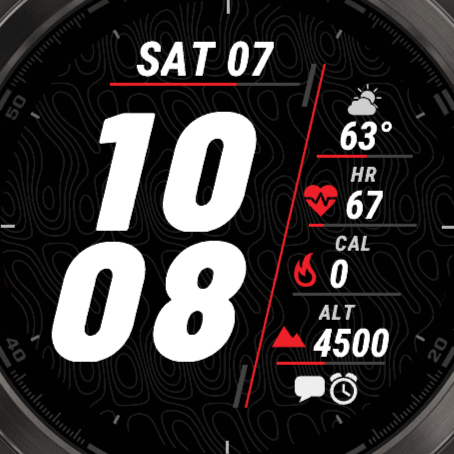
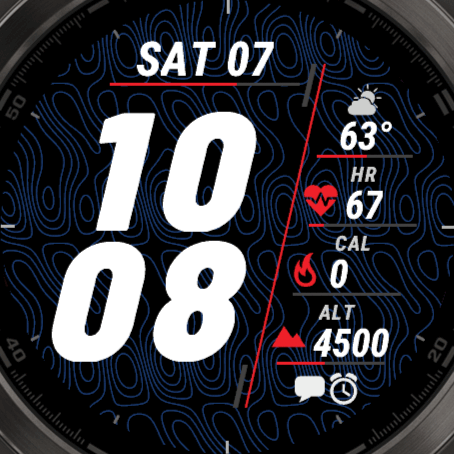
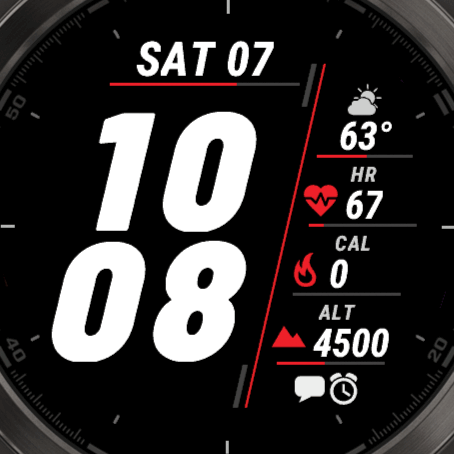
Status icons
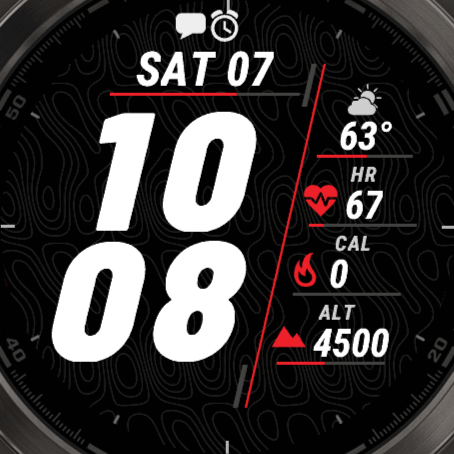
The status icons show when your phone is disconnected, and when you have notifications, Do Not Disturb or an alarm. Find them in Advanced options → Status Icons.
- Position: Off, Below the fields or At the top.
- Color
Themes
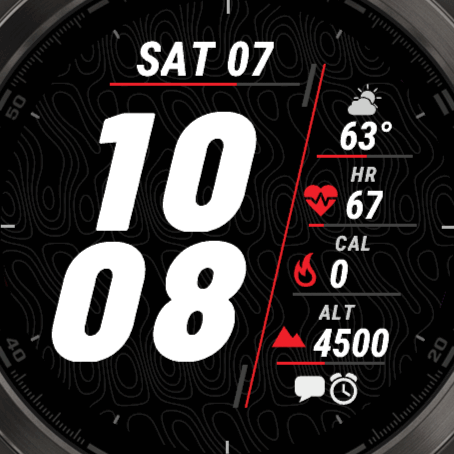
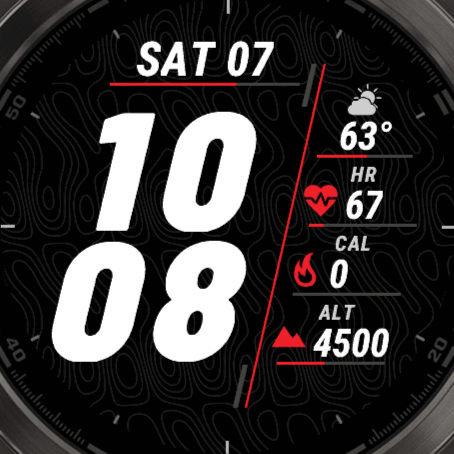
AMOLED and MIP watches each have their own 33 themes, as they show colors very differently. MIP also has themes with a light background. See all of them on the themes page.
A theme sets the colors, the time fonts, the Time Size, the Gradient Style and the Line Style. Your data fields stay as they are. So choose your theme first, then change what you like.
Can't decide? The last option in the theme picker, AI Gen, makes a new set of colors and time fonts every time, with the gradients of the theme it starts from. You can also put Generate AI Theme on a touch area.
Always on, MIP watches
A MIP screen is always on. When you lower your wrist, the watch goes into low power mode, and Garmin only gives a watchface a very short moment to draw something new every second. Rush uses that moment for the fields that are set to update every second.
- Set the refresh time of a field to Always on in its Data Options. This works for the date and the side fields, not for the lines and the ring.
- Only one row of the screen can be drawn per second. With always-on fields on different rows, they take turns.
- Everything else updates on the next minute. When you raise your wrist, everything updates as usual.
Always-On Display, AMOLED watches
There are two places for these settings. The fonts and the color of the time are in Time options, everything else in Advanced options → Always-On Display. The always-on display has to stay under 10% brightness, or the screen turns off. See Always-On Display for how that works.
Advanced options → Always-On Display
- Mode: what stays on the screen, see below.
- Data Field: the field to show, in the modes with a data field. This is the AOD Field, the date by default.
- Shift: moves the screen a few pixels to prevent burn-in. The moving modes move further.
- Time Brightness: how bright the time is.
- Data Brightness: how bright your data is. If the screen stays dark, keep this under 80%.
- Data Color Filter: white keeps the colors as they are.
Time options
- Hour AOD Font, Minute AOD Font: Outlined by default: the Outlined version of your time font, which lights far fewer pixels. Dots, Squares and Sport have no Outlined version, so they stay as they are. You can also pick any other time font.
- AOD Time Color: white = keep as is. The time keeps its own colors, and its gradient. Any other color makes the whole time that color.
The modes
Full AOD
The default. Your data, the ring and the divider, dimmed.
Time only
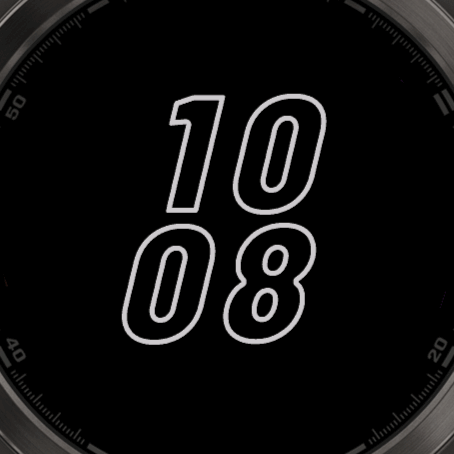
Only the time, in the middle of the screen.
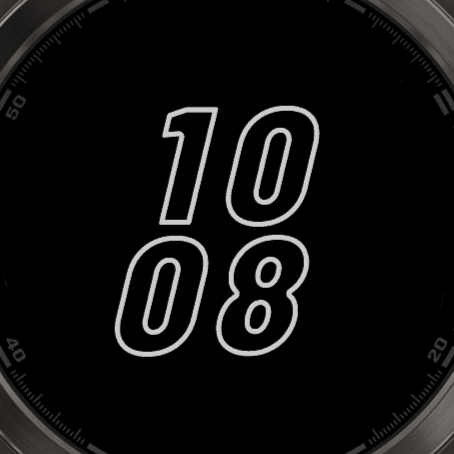
Time only, moving
The time moves to a new place every minute.
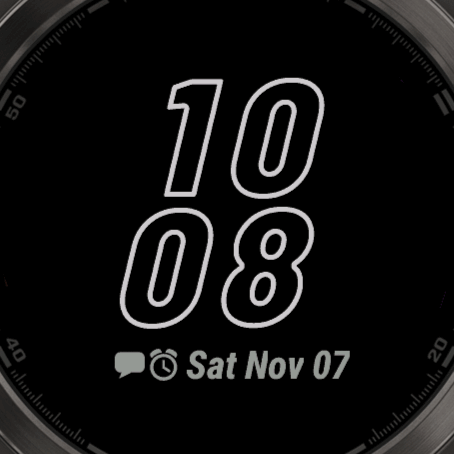
Time + data field
The time, with the AOD Field below it.
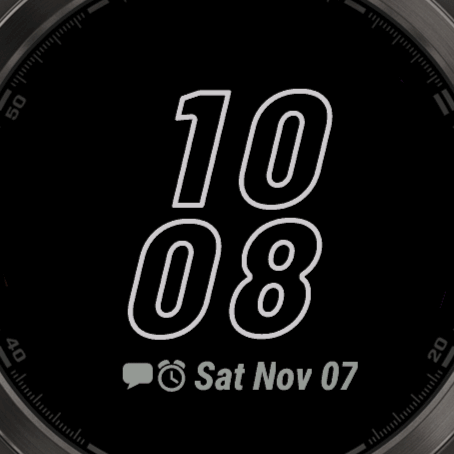
Time + data field, moving
Both move to a new place every minute.
Screen off
The screen is off until you raise your wrist. This saves the most battery.
Fonts and colors
Instinct Crossover
The Instinct Crossover has real, physical hands. The watchface can draw a highlight on those hands, so they stand out against the screen. Find it in Advanced options → Hand Highlights.
- Hand Style: the shape of the highlight, or No Highlight. Fade-in, solid, Top Only, and 30% transparent versions, each in small, medium and large.
- Second Hand: No Second Hand, Fade-in or Solid.
- AOD Style: the highlight on the always-on display: No Highlight, Keep as is, Green, Red or Blue Lume, Custom Color, 40% darker or 60% darker.
- Minute Color, Hour Color, Second Hand Color: the colors of the highlights. These are their own settings, a theme doesn't change them.
- AOD Custom Color: only with AOD Style set to Custom Color.
The highlights are saved per profile.
Touch areas
On a watch with a touch screen, every field can open a shortcut. This watchface also has 4 touch areas of its own, one on each digit of the time: Hour Left, Hour Right, Minute Left and Minute Right.
Set them in Advanced options → Touch options. See Touch & Shortcuts for how to set them up, and for what a shortcut can do, such as the next profile or a new AI theme.
Free and PRO
The PRO version from the Connect IQ store is fully unlocked. In the Free version, these need PRO:
- Data fields marked [PRO]. You can try one for an hour, then it shows PRO instead of its value.
- Touch shortcuts. You can try them for an hour, starting with the first shortcut you use.
- More than 2 profiles
To activate the Free version, open Pro Status → Activate and enter your code, or type it in Pro Code in the settings on your phone. Your phone needs to be connected. See Free vs PRO & Activation, which also explains which version to choose.
More documentation
This manual only covers what is specific to Rush. The settings system works the same on every watchface with its settings on the watch, and the On-Watch Settings documentation explains all of it. For example:
- Settings Menu Map: everything in the settings menu, in one overview
- All Datafields: every field you can pick, with a search box
- Alternative Times: show the time in another city in any field
- Refresh Time: how often a field updates, and how that saves battery
- Custom Date & Time Formats: show the date or time exactly the way you want
- Goals & Progress Bars: set your own goal for a line or the ring
- Labels, Colors & Offsets: change the caption, color or position of a single field
- Profiles: save different setups and switch between them
- Themes: how themes work, and how to keep your own look
- Colors: change any color, or type an exact one
- Fonts: this watchface has an Hour, Minute, Text, Caption and Date font, and two AOD fonts on AMOLED
- Plugins: more data with OWM Weather GB, YR Weather GB, CGM+ and Tides GB
- Data From Other Apps: show values from apps that support complications
- Troubleshooting: what to do when something doesn't work
Have a question? See the Frequently Asked Questions.