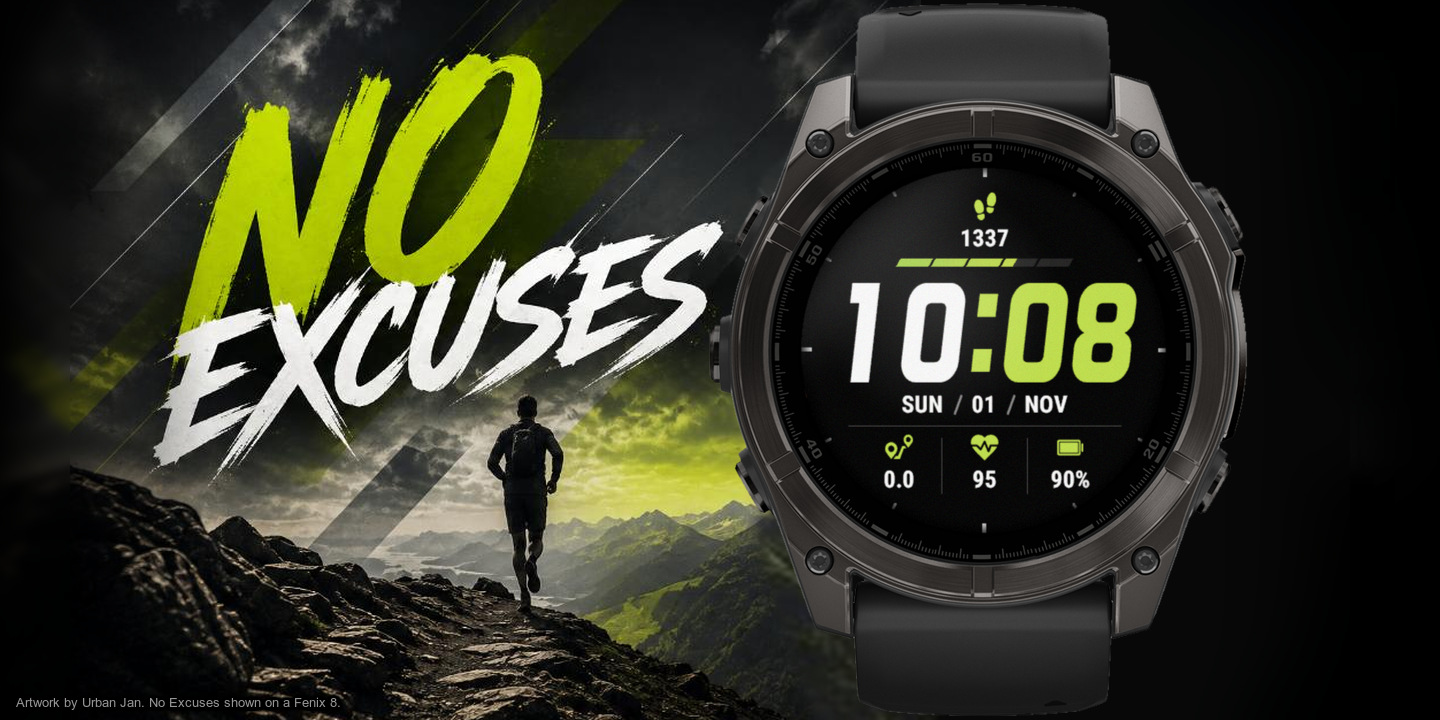
No Excuses
Download Options
 Free Version
Purchase Watchface - $3.99


No Excuses - GB - Manual
Table of Contents
Opening the settings
All settings are on the watch. There are no settings for this watchface in the Connect IQ app on your phone.
On your watch, go to Menu → Watch Face → No Excuses and choose Customize, edit, configure or the edit icon. The exact path and wording are slightly different on every model.
Your settings are stored on the watch. They usually stay when you reinstall the watchface, but this isn't guaranteed.
Changing a data field
- Open Data.
- Choose Pick on screen and select a box on the watchface, or choose a field from the list.
- Choose the Data row, then a category, then the field you want.
- Use Data Options for its format, units and refresh time.
The fields on this watchface
| Field | Where it is |
|---|---|
| Top Left | Above the progress bar |
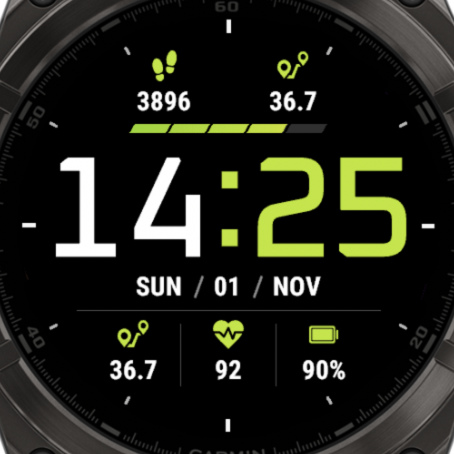
| Top Right | Next to Top Left, only with Top Style set to 2 fields |
| Top Progress | The bar above the time, progress only |
| Center Left, Center, Center Right | The row below the time |
| Line Progress | The line below the center row, progress only |
| Bottom Left, Bottom Center, Bottom Right | The bottom row. Bottom Right only with Bottom Items set to 3 fields |
| Ring Progress | The ring around the edge, progress only |
| AOD Field | Below the time on the always-on display, in the modes with a data field |
To set up a custom date or time, see Custom Date & Time Formats.
Alternative timezones
Any field can show the time in another city, and each field can have its own city.
- Open the settings and choose Data.
- Choose Pick on screen and select a field, or choose a field from the list.
- Choose the Data row, then Date and Time, then World / Alt Time.
- Choose Data Options → Timezone, then a region and a city.
Options
- Time Format in Data Options: System, 24h, 12h, 12h with a/p, or your own format.
- Text behind Value in Data Options: your own text after the time.
- Label in the menu of the field: choose Text Label and type the city name, so you can see which time it is.
Daylight saving time is handled for you. Only need UTC? Choose UTC / ZULU Time in step 3, and you're done.
See Alternative Times for the list of cities.
Layout options
These are in Advanced options. Some rows only appear when the option they belong to is on.
Top Style
- Style: 1 or 2 fields
- Top 1, Top 2, Top Progress: the fields
- Color Style: Gradient, Color merge, Single color, Single color filled
- Color 1, 2, 3 and Unfilled Color
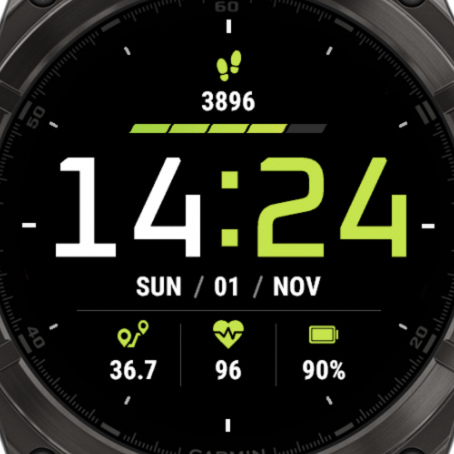
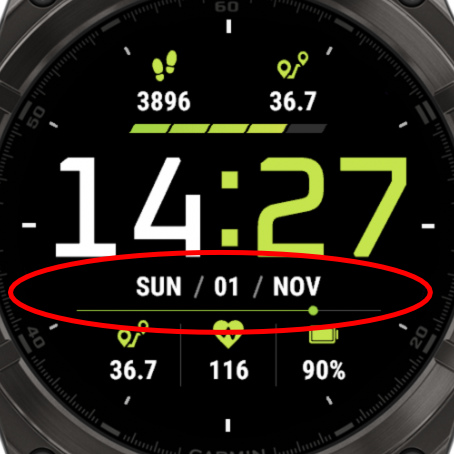
Center Fields
- Dividers: on or off, with a color
- Lines: on or off, with a color. Below the center fields and between the bottom fields
- Line Progress: turns the line into a progress bar
- Left, Center, Right: the fields
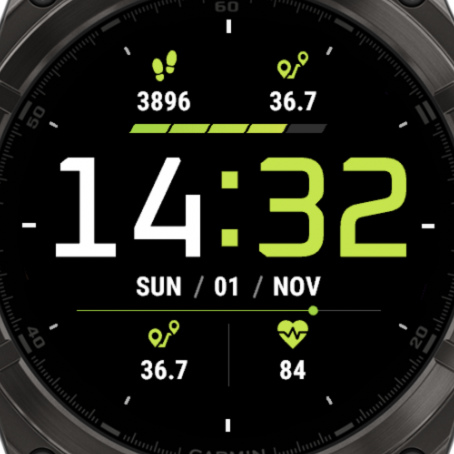
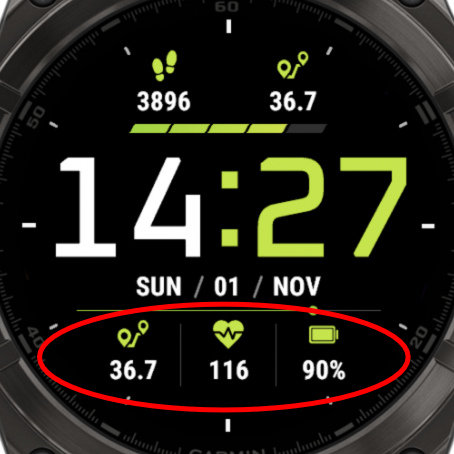
Bottom Items
- Style: 2 or 3 fields
- Bottom 1, 2, 3: the fields
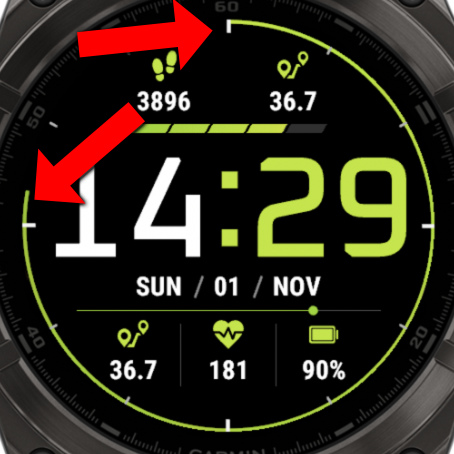
Ring & Dial
- Ring Progress Field: set it to Nothing to hide the ring
- Progress Style, Colors and Width
- Hour Markers and 5 Min markers: color, length and width. Length Off hides them
Fonts
Change the time fonts in Time options, or all fonts in Advanced options → Fonts. The hour and minute can each have their own font.
- On every watch: Hour Font, Minute Font, Text Font, Label Font
- On AMOLED watches also: Hour AOD Font, Minute AOD Font, Center Text Font, Top Text Font
Racer

Racer Outlined
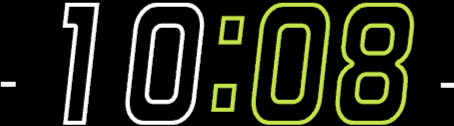
Barlow

Barlow Outlined
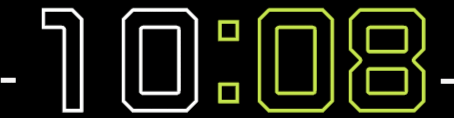
Oxanium

Oxanium Outlined

Orbit
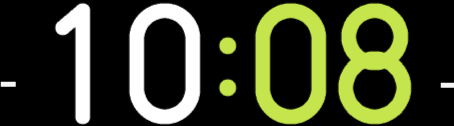
Matrix
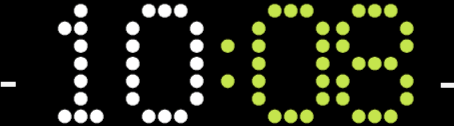
Always-On Display
AMOLED watches only. Find these in Advanced options → Always-On Display.
- Mode: Screen off, Full AOD, Time only, Time only moving, Time + data field, Time + data field moving
- Data Field: the field to show, in the modes with a data field
- Shift: moves the screen a few pixels to prevent burn-in
- Time Brightness and Data Brightness
- Data Color Filter: white keeps the colors as they are
Free and PRO
The PRO version from the Connect IQ store is fully unlocked. In the Free version, these need PRO:
- Data fields marked [PRO]. You can try one for an hour, then it shows PRO instead of its value.
- Touch shortcuts
- More than 2 profiles
To activate the Free version, open Pro Status → Activate and enter your code. Your phone needs to be connected. See Free vs PRO & Activation, which also explains which version to choose.